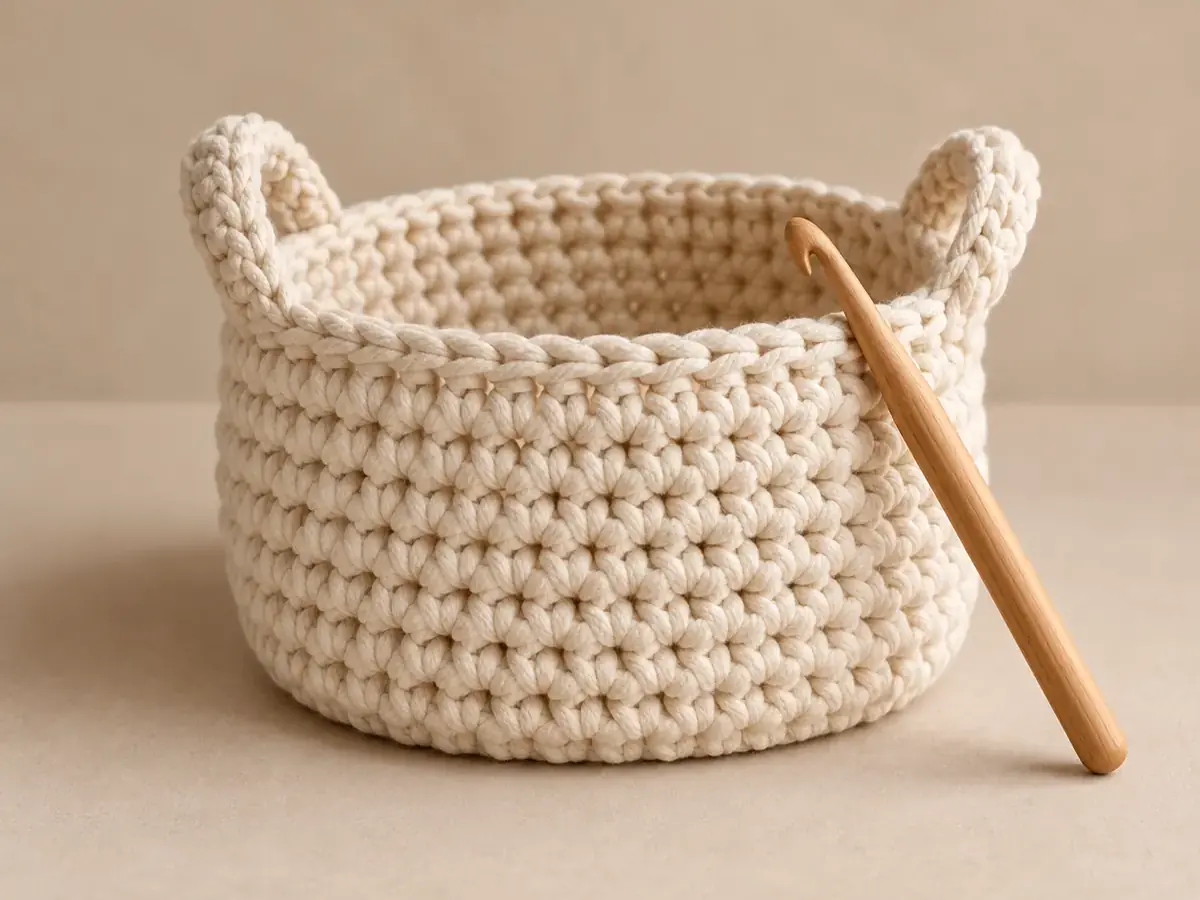
A neat colour change begins before the first stitch of the new colour. Complete the last draw-through of the preceding stitch with the new yarn, then continue with it. That places the new working loop on the hook at the transition.
The same idea helps when joining another ball of the same yarn. Plan how to secure both tails instead of relying on the tension of the next few stitches to hold them forever.
In this guide
Change colour in single crochet / Change colour in double crochet / Carry the yarn or cut it? / Avoid tight floats / Fasten off and weave in / Final check
Change colour in single crochet
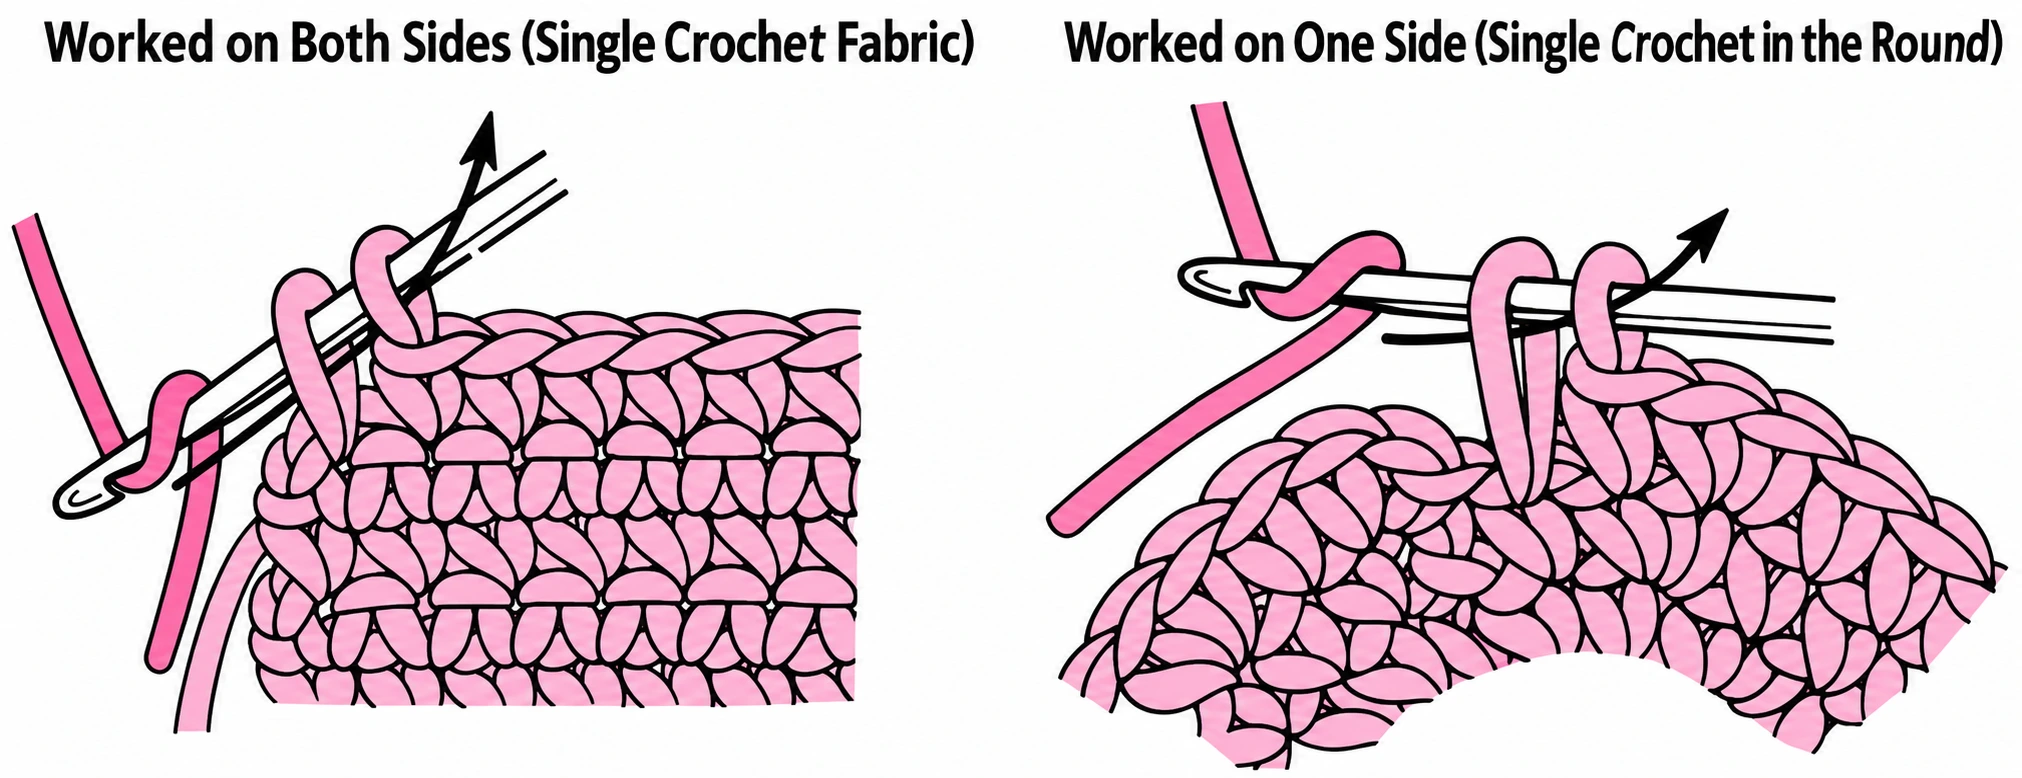
- Work the last stitch in the old colour until two loops remain on the hook.
- Lay the new working yarn over the hook.
- Pull the new yarn through both loops.
- Continue with the new colour, leaving both tails long enough to weave in.
Support the tails gently for the first few stitches. Do not pull them so hard that the stitch at the change becomes noticeably smaller.
Change colour in double crochet
Work the last double crochet in the old colour until only its final two loops remain. Draw the new yarn through those loops, then begin the next stitch or turning chain in the new colour as directed.
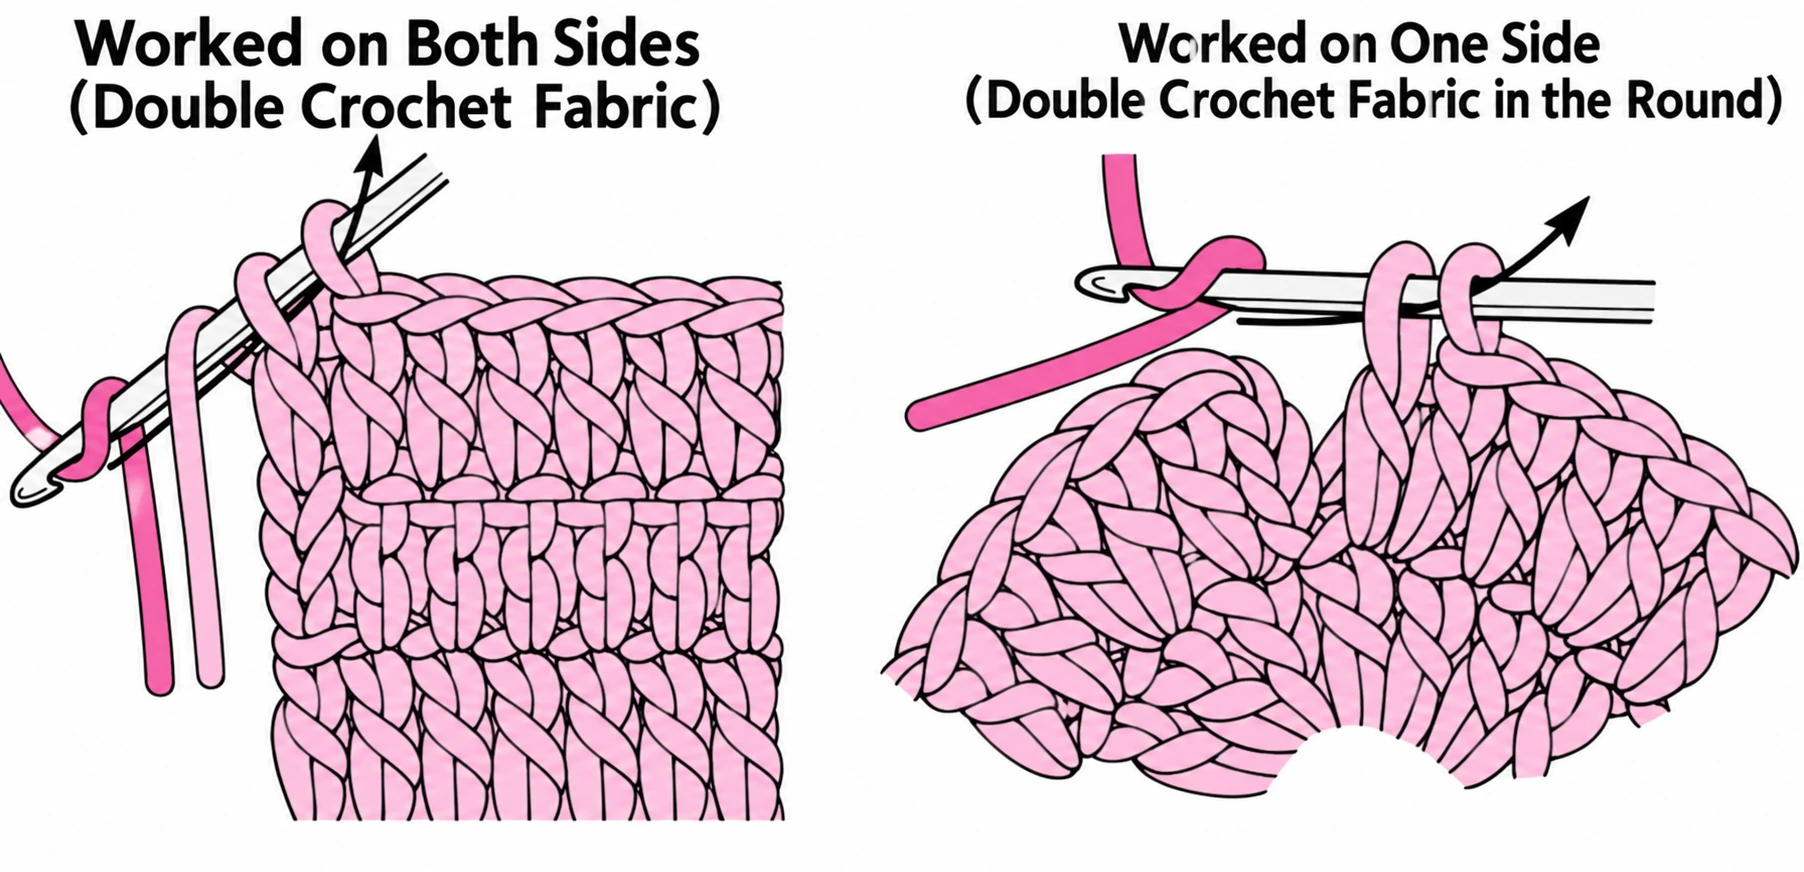
This is a controlled transition, not a promise of an invisible line. Joined rounds and spirals behave differently; a continuous spiral can show a step where the colour changes. Use a project’s specific colour-change method when its appearance depends on it.
Carry the yarn or cut it?
| Situation | A useful approach |
|---|---|
| Colour will not be used again soon | Cut it with enough tail for finishing |
| Short change with yarn carried inside stitches | Enclose it gently and check that it does not show |
| Yarn carried up a row edge | Allow enough length for the height of the rows |
| Separate blocks of colour | Use separate supplies where appropriate and manage the join between them |
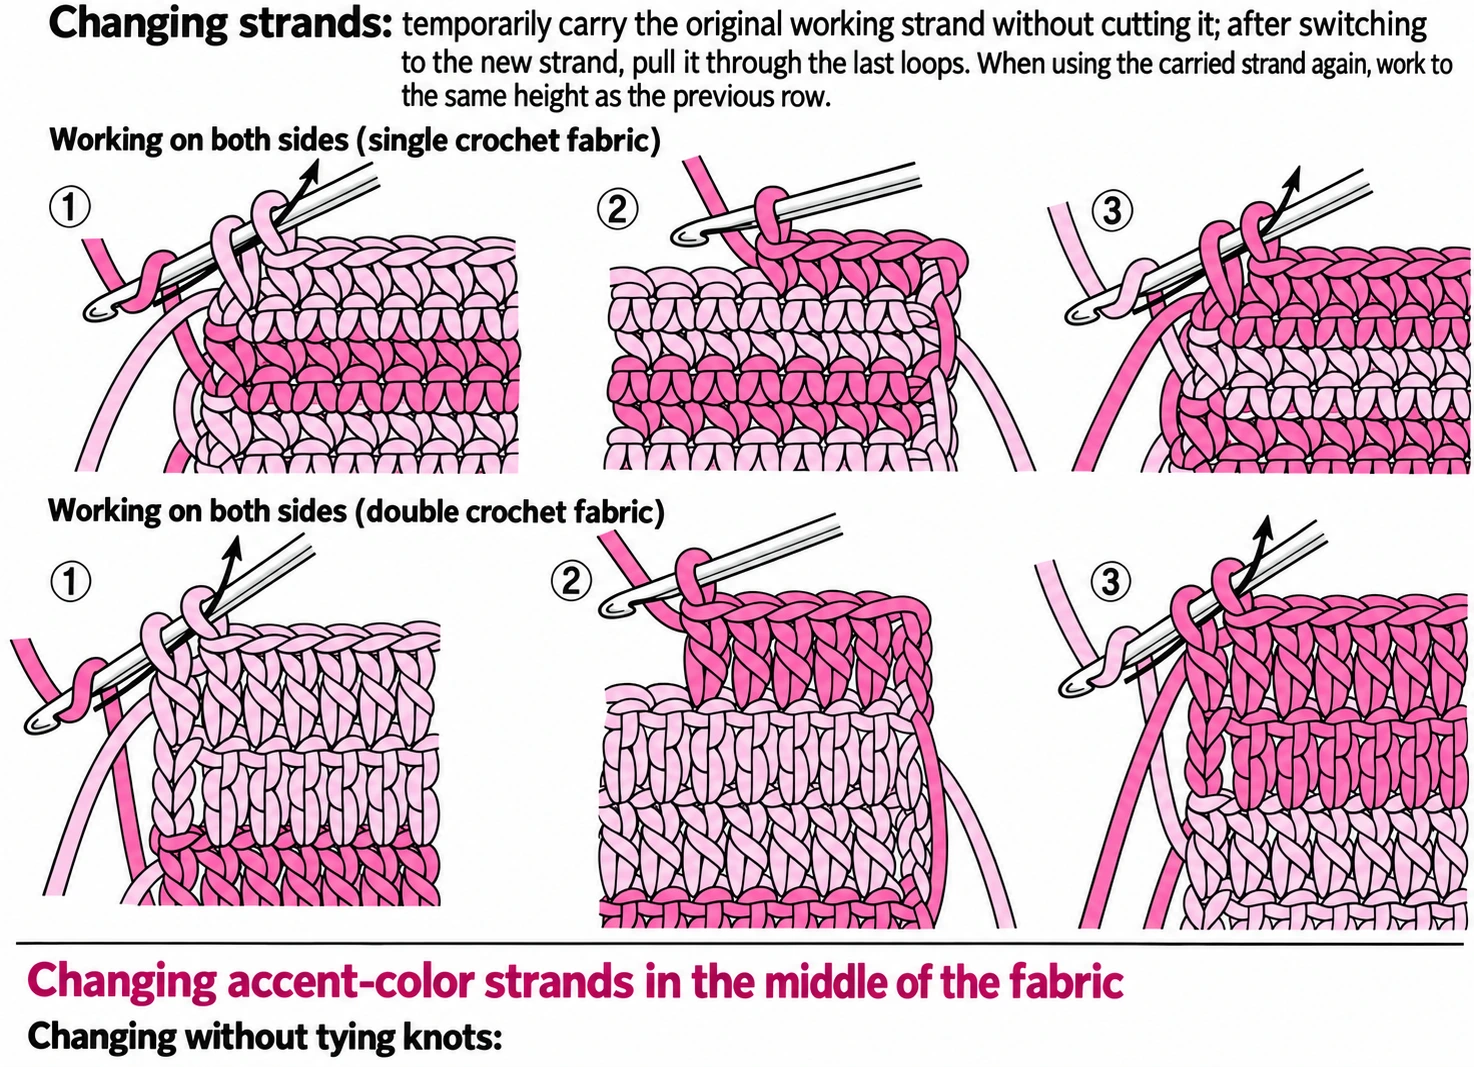
The reference illustrates yarn carried behind the fabric, enclosed inside stitches and crossed at colour boundaries. These create different backs. Inspect the reverse side as you work rather than discovering long loose strands after assembly.
Avoid tight floats
Spread the stitches to their natural width before carrying the unused colour across them. A short float can pull the piece inward; a long loose one can catch on things. Where the finished item has an exposed reverse, choose a method that suits that use.
If the unused colour shows through a pale surface, check both the fabric density and whether carrying it is appropriate. A tighter grip alone is not a reliable solution and may distort the work.
Fasten off and weave in
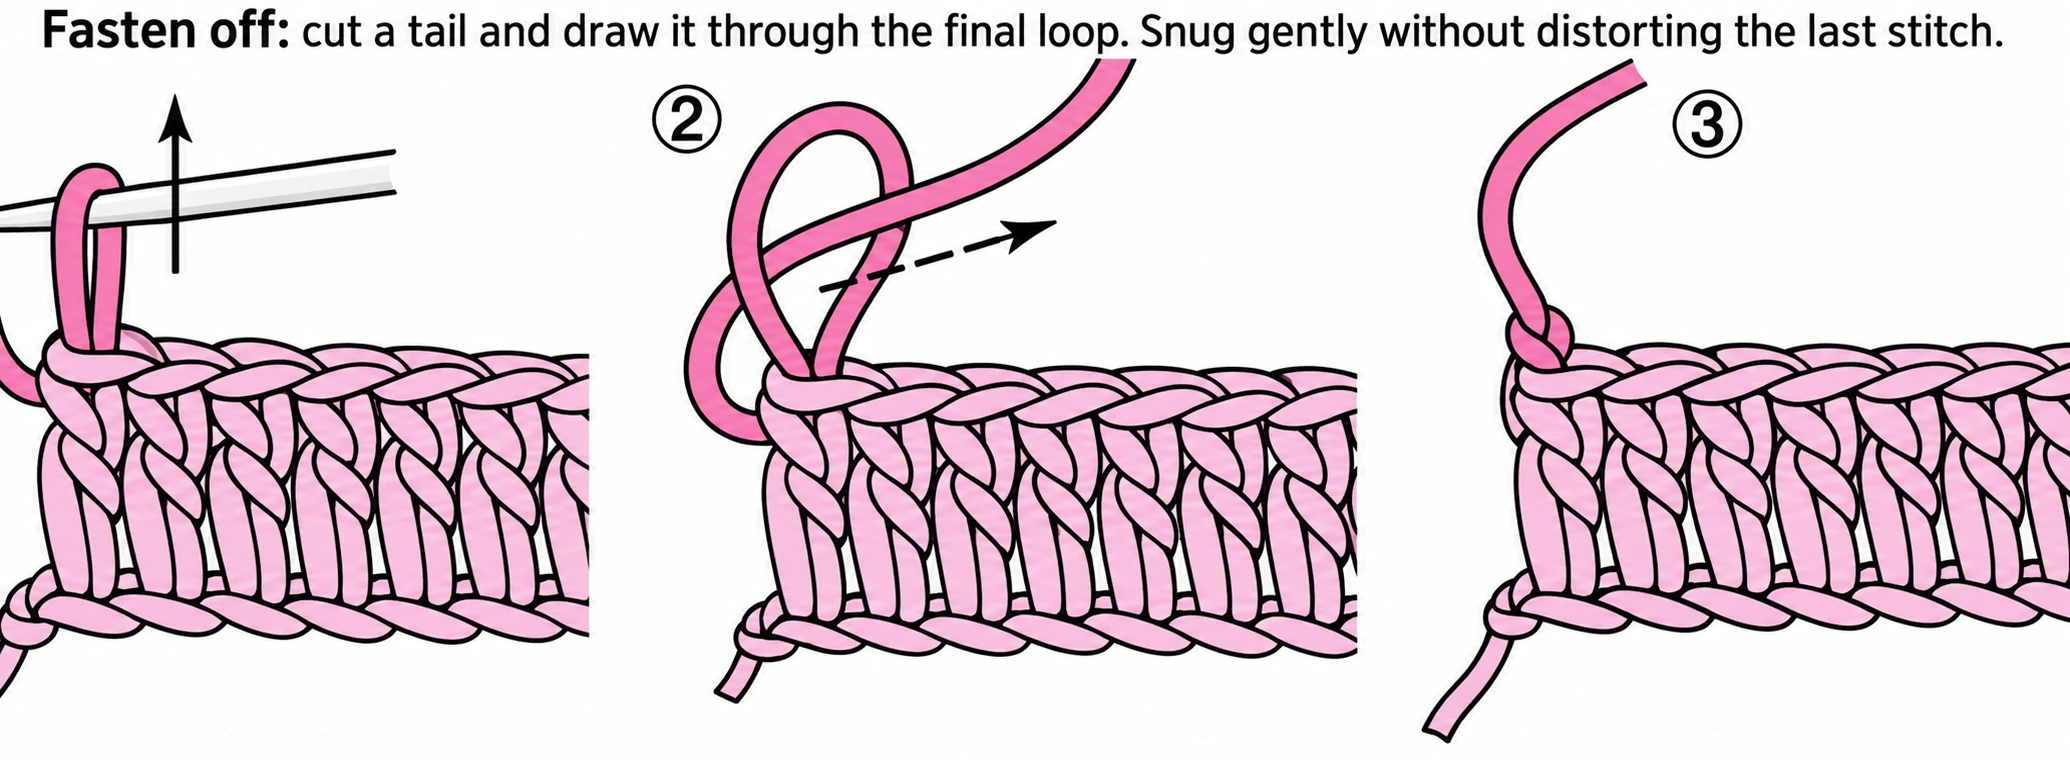
After the final stitch, cut a workable tail and draw it through the remaining loop. Thread the tail onto a tapestry needle. Pass it through the body of nearby stitches on the less visible side, following the structure without cinching it.
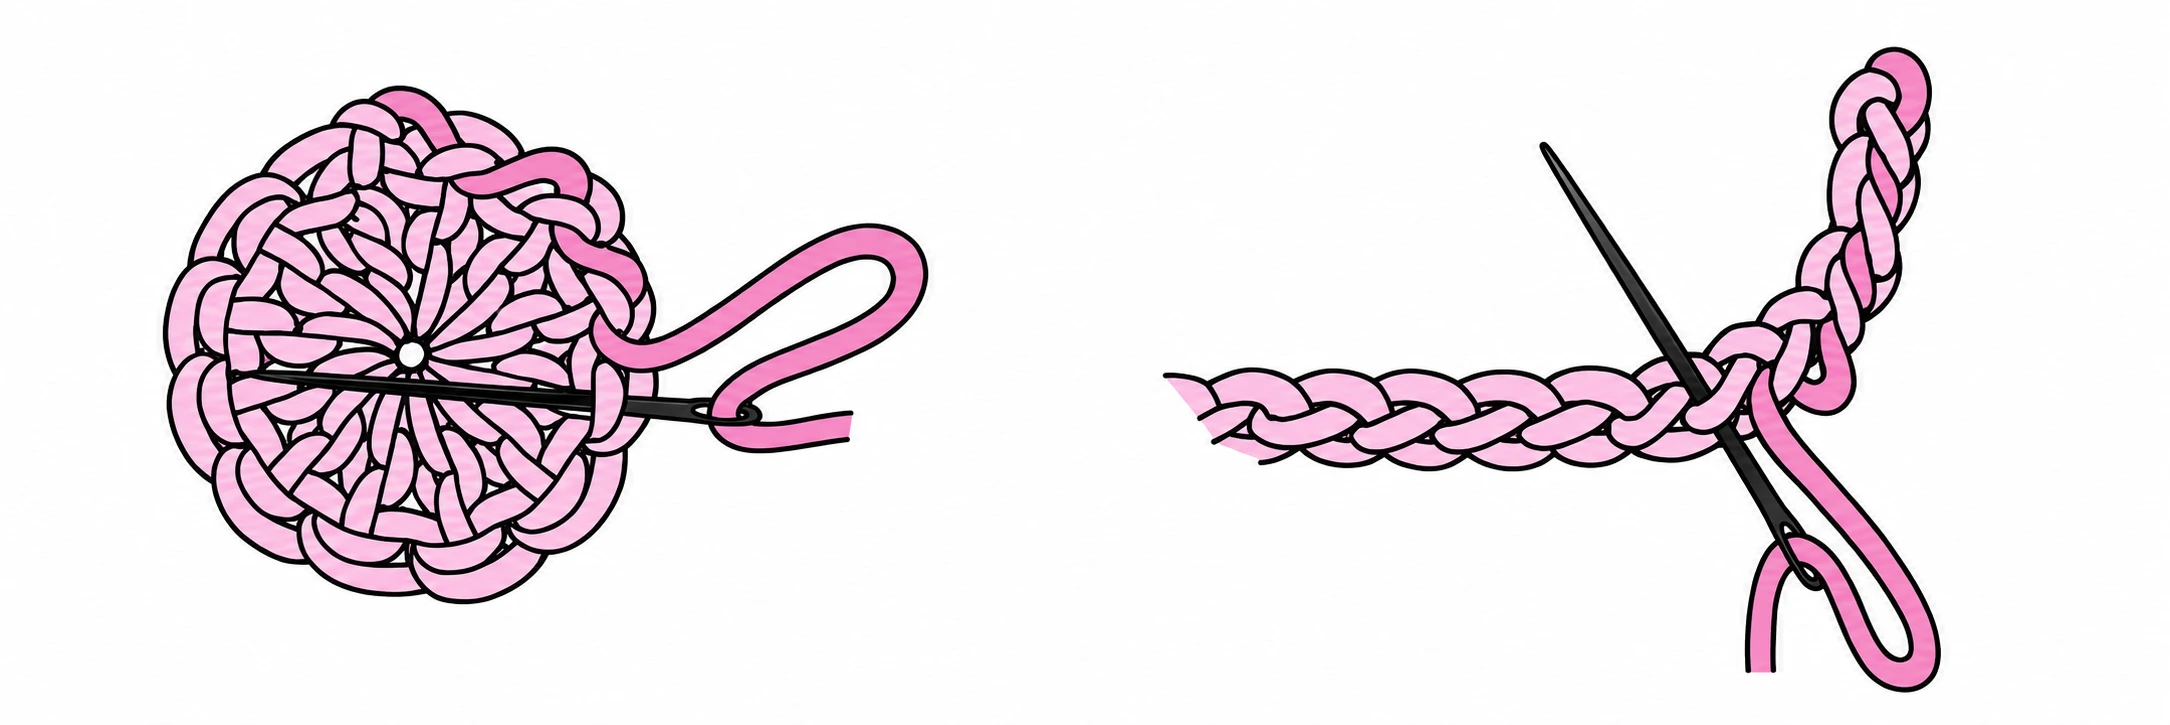
Change direction where useful to resist the tail sliding straight back out. For a stuffed piece, finish accessible tails before the opening becomes too small to reach. A tail needed for sewing an attachment should be left long enough for that job.
The reference shows several knotting methods. A knot may be part of a chosen join, but its bulk and suitability depend on the yarn and position. Do not assume a single knot makes every slippery yarn secure.
Final check
Gently stretch and relax the fabric. Check for a tight line, loose transition or visible tail. Make any adjustment before trimming the remaining ends close to the surface.
Reference notes
Adapted from the joining-yarn, colour-change and finishing sections of the supplied I Want to Learn Crochet (Chinese-language reference).
Step illustrations and photographs are excerpts from the supplied reference materials credited below. In-image instructional text has been translated into English and the supplied images enhanced with AI assistance. The English captions explain the pictured actions. Select a step image to view it at full size.