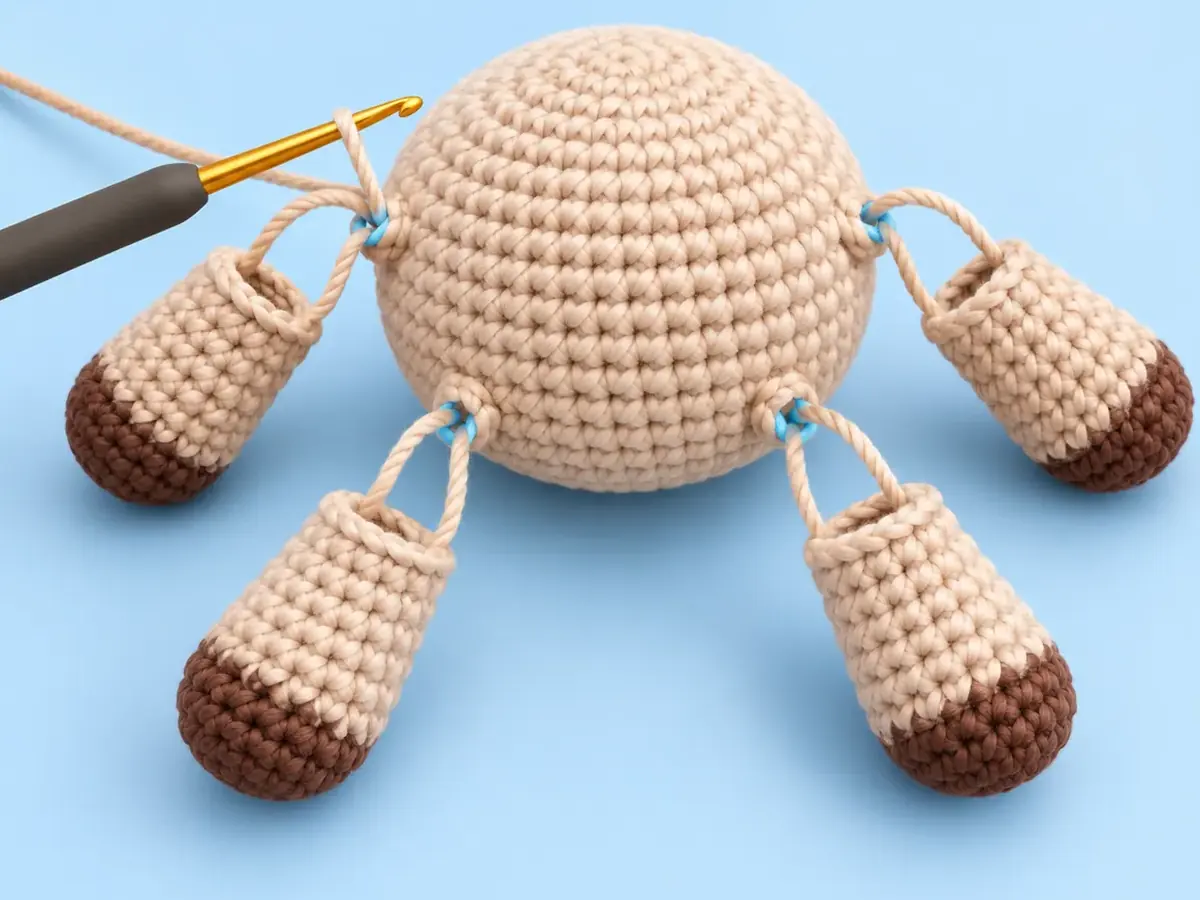
Yarnumi Quick Start
- Skill level: Beginner
- Time: About 5–10 minutes to practise the ring
- Finished size: Depends on your yarn, hook and tension
- Main result: An adjustable centre for crochet worked in rounds
- Stitches: Securing chain, then the first-round stitches from your pattern
A magic ring gives a round crochet project a centre that can close neatly. In this Yarnumi guide, you will form the ring, secure the working loop, crochet the first stitches around the ring and pull the tail to close the centre. You only need yarn, a matching hook and a little practice. The exact first-round count comes from your pattern, so this guide focuses on the hand movement and the checks that keep the start even.
In this guide
Materials / Skill Map / Step by step / Fix Box / Video Companion / FAQ
What you need
- Yarn: Use the yarn named by your pattern. A light or medium colour makes the loops easier to see while you practise.
- Hook: Use the size recommended for your yarn or pattern.
- Stitch marker: Helpful for marking the first stitch of the round.
- Tapestry needle and scissors: For finishing the tail when your project is complete.
Need help choosing a starting combination? See how to choose yarn and crochet hook size for beginners before you begin.
Yarnumi Skill Map
- Working loop: Keep the loop on the hook open enough to move, but not so loose that it loses its shape.
- Centre ring: Hold the crossing point and the yarn tail together until the first stitches stabilise the ring.
- Round direction: Learn more about rows, rounds and where the hook enters.
- Next skill: Practise the six basic crochet stitches once your centre is secure.
How to make a magic ring
01. Form the ring
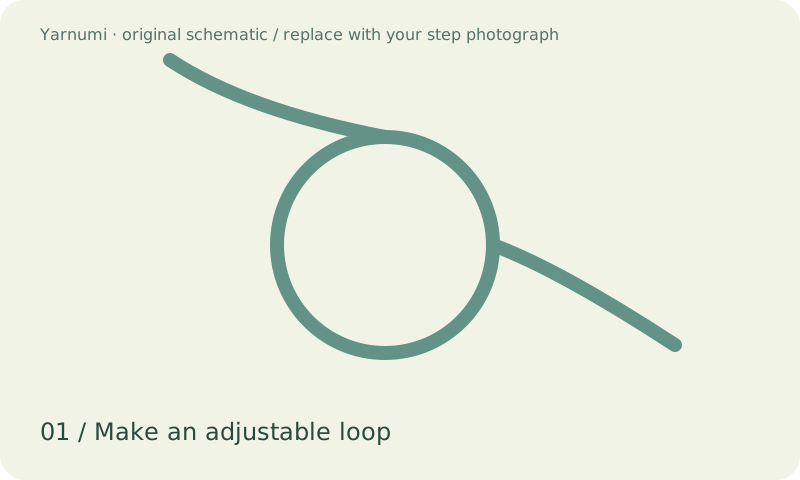
Leave a tail for finishing. Arrange the yarn into an overlapping circle and hold the crossing point between your fingers. Keep the working strand easy to identify before you bring in the hook.
Make check: The centre is open, the tail is separate from the working strand and the crossing point does not slide.
02. Secure the working loop
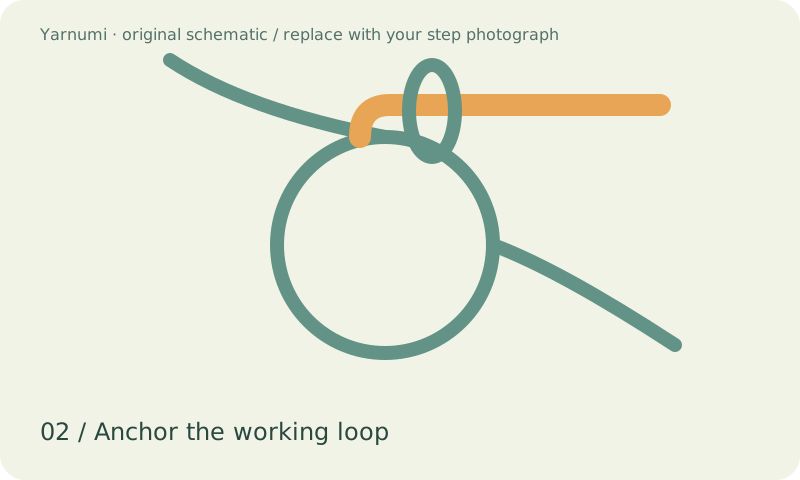
Reach through the ring with the hook, catch the working strand and bring up a loop. Make the securing chain required by your pattern while you continue holding the ring open.
Make check: The loop sits on the hook, the tail still passes through the centre and the ring has not twisted.
03. Crochet into the centre
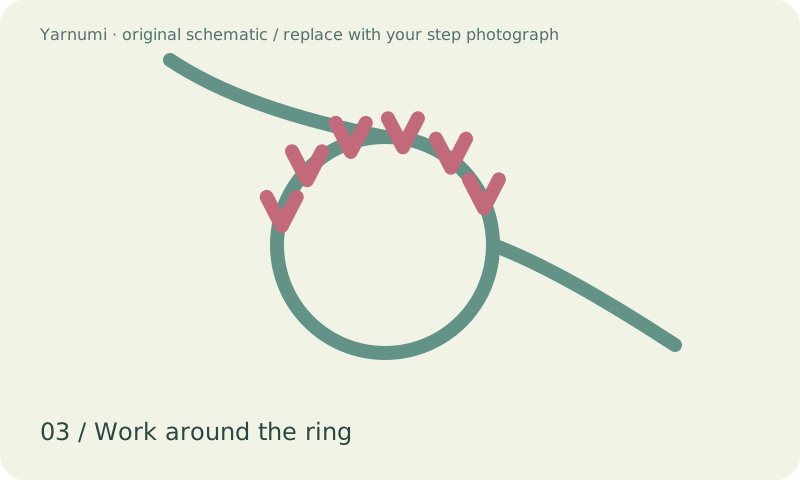
Work the starting stitches around the ring and the tail together when your pattern calls for it. Keep the stitches close enough to support the centre, but do not pull the tail closed before the first round is complete.
Make check: Your stitches sit around the ring, the centre remains open and the tail can still move when you gently tug it.
04. Close and secure the centre
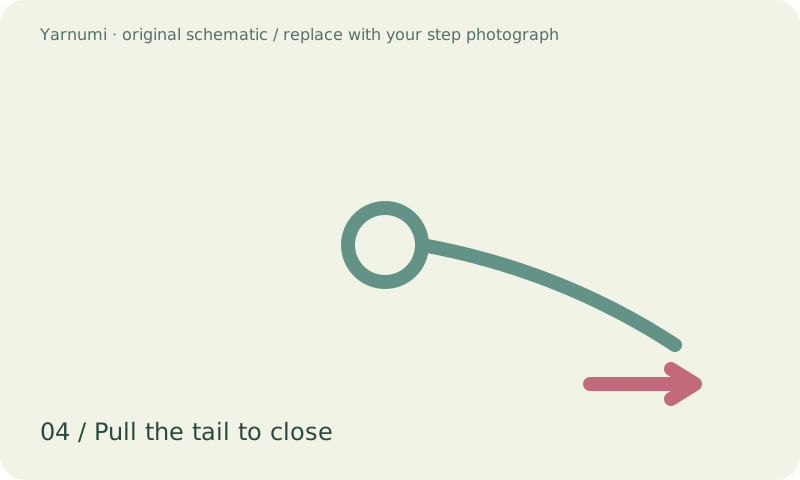
When the first round is complete, gently draw the tail until the centre contracts. Stop when the opening is closed and the stitches still lie flat. Mark the first stitch before continuing, then weave in or secure the tail according to your pattern.
Make check: The centre is closed, the round is not gathered into a cone and the first stitch is easy to find.
Yarnumi Make Check
- Look at the centre from above: it should close without a large hole.
- Lay the round flat: it should not twist into a cone or ruffle sharply.
- Find the first stitch before beginning the next round.
- Count the stitches using the number in your pattern; this guide does not invent a project-specific count.
Yarnumi Fix Box: common magic-ring problems
- The ring will not close: Check that you are pulling the short tail, not the working strand. If the tail is trapped in a stitch, loosen the last stitch and try again.
- The centre is too loose: Your tail may not have been held together with the first stitches, or the yarn may be sliding at the crossing point. Re-form the ring and keep the crossing point pinched until the first stitches are stable.
- The opening is too large: Close the ring gradually after the first round, then check the centre from above. If the stitches have already stretched, undo the round and work with steadier tension.
- The round twists: Make sure the first stitches all enter the centre and that the ring was not flipped before you started. Lay the work flat before moving on.
Yarnumi Video Companion
Want to compare the hand movement? Watch One-loop and two-loop magic rings. The video shows how the starting wrap changes the centre and tail position; pause after the opening setup, then compare your ring with the Make Check above.
- Chapter 1: Set up the yarn and hold the starting ring.
- Chapter 2: Compare a one-loop and two-loop start.
- Chapter 3: Work into the centre and keep the tail controlled.
- Chapter 4: Tighten the centre and compare the result.
The video remains the movement reference. This page adds a text checklist so you can practise without relying on a player.
FAQ
Is a magic ring suitable for a complete beginner?
Yes. Start with a light-coloured yarn, practise the ring by itself and use the Make Check before adding a full first round. It is normal to repeat the setup a few times while your fingers learn where the tail and working strand sit.
How many stitches should go into the ring?
Use the number written in your project pattern. Different projects need different first-round counts, so Yarnumi does not give one universal number for every flower, circle or amigurumi start.
Can I change the yarn or hook?
Usually, but the change affects tension and finished size. Follow the pattern’s gauge or hook guidance, and practise with a light colour so you can see whether the centre closes cleanly.
What if I cannot pull the ring closed?
Check which strand you are pulling. The short tail closes the ring; the working strand continues to the hook. If the tail is trapped, loosen the last stitch, free the tail and try the closing motion again.
Keep learning
- Learn Crochet: Yarnumi skill hub
- Choose yarn and hook size for beginners
- Learn six basic crochet stitches
- Understand rows, rounds and loop positions
Yarnumi Source Note
The four diagrams in this draft are original Yarnumi schematic illustrations stored in the Bloom Loop theme assets. They explain the movement and are not an exact stitch-count chart or a replacement for a pattern.
The companion video is Yarnumi post 1172, One-loop and two-loop magic rings. The topic opportunity was identified from the 2026-10-18 Semrush mirror and competitor review; this draft reorganises the lesson around Yarnumi’s Quick Start, Make Check and Fix Box modules.
Editorial status: Draft · Temporary site noindex remains in place · Last content review 2026-10-18.